Final Fantasy 8 Walkthrough - SeeD Exam Boss Guide
The Communications Tower
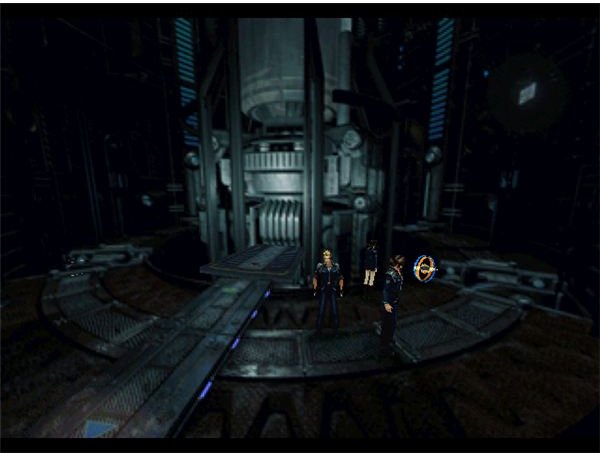
Once you enter the Communications Tower you’ll be at the ground floor. Inside you’ll likely encounter a couple of Galbadia Soldiers but you can easily defeat them. On the left side is a Blind draw point. Blind is a negative status effect which causes the effected enemy to miss with their attacks frequently. On the right side is a save point.
A lift in the center of the room will take your party to the top level - hop on it and “Go Up”.
Biggs and Wedge

Biggs and Wedge are a pair that will pop up throughout the game - a couple of Galbadian soldiers that have something of a love hate relationship and are always getting themselves into bad situations - like this one (also, the Star Wars reference is certainly not lost on me).
In this first encounter, a cut scene shows Biggs doing repairs to the Communications Tower and Wedge attempting to notify him of lurking monsters - a warning he completely ignores. When your party shows up, he finishes repairs and the dish jumps to life in a lovely little animation.
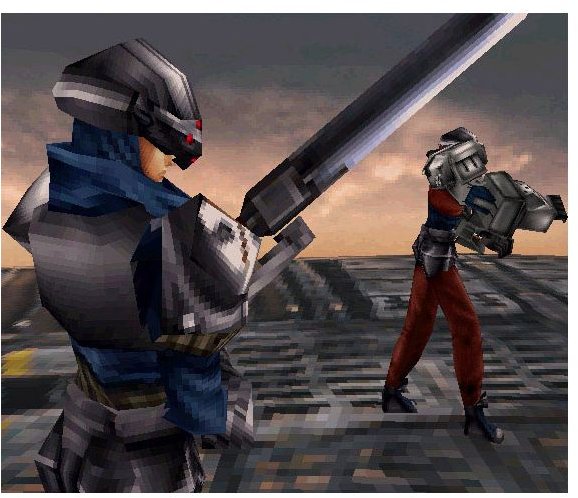
Of course, following that Biggs realizes who and what you are, and a battle ensues. You don’t have to actually attack Biggs at this point. Instead, I recommend setting up your whole party to draw as much Esuna from him as possible. After a few minutes Wedge will also join the battle. Once you’ve drawn what you want, attack the pair for a little bit. You won’t actually be able to defeat the duo yourself - a tough monster called Elvoret does the honors, knocking them away and turning it’s attention to your party.
Elvoret
Elvoret presents the biggest challenge in the game up ’til this point. His attacks deal large amounts of damage and occur frequently. Letting your characters sit at low health to get limit breaks is extremely risky. He has 4 main attacks: Storm Breath is the most dangerous, dealing 200+ damage to everyone in the party. He also does a Fire and Thunder attack that hit for 100+, and a claw that hits for roughly 70.
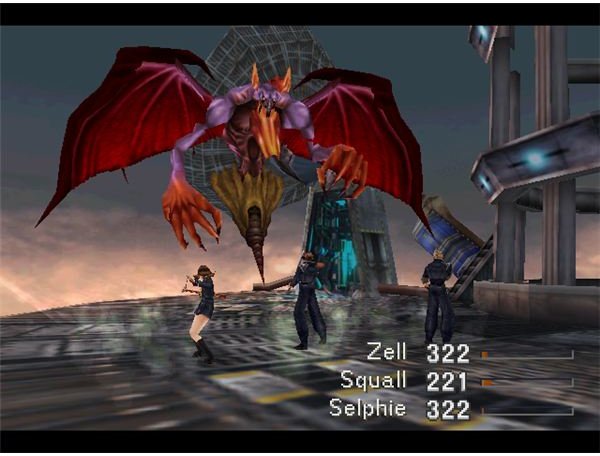
In addition to dealing lots of damage, Elvoret has no elemental weaknesses. You’re going to have to beat him up the old fashioned way. However, before you set about destroying him, first use any of your characters to draw Siren. After the battle the Siren GF will be awarded to you.
Elvoret also has another extremely useful magic that you can draw from him - Double. Double can be cast on any party member, allowing them to cast the same spell twice, back to back, at the same OR different targets. For example, a member effected by double can use Cure on themselves, then on another. Or, they can cast Fire at the same, or two different enemies. Double also junctions extremely well, so take this time to stock up as many as you can across all characters.
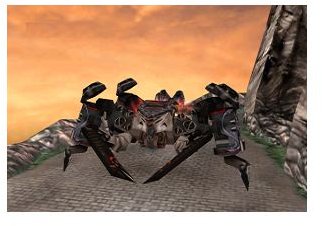
Once you have defeated Elvoret, make sure you heal your party up. An angry Biggs is going to sic a giant cylonesque spider robot on you, which you will have to deal with for the rest of the duration of the exam. It is also at this time that you find out your party has 30 minutes to reach the beach before the boat leaves without you (that would be the equivilent to “game over”).
X-ATM092 Boss
Upon leaving the Communications Tower you’ll discover your party is being pursued by a big spiderbot, intent on obliterating you. This is a very important part of the SeeD exam as there are dozens of variations in how you can handle this particular bot, and which one you choose can have a profound impact on your ending exam score. Your three options here are: Evade, Run Away, and Destroy. Depending on how you’ve played the game up til this point the Destroy option may or may not be on the table.
Evade: Evading the boss means avoiding any confrontation with it. This is incredibly challenging to do, and requires you be very meticulous in your actions. Evading the boss will give you the highest SeeD score, but you will lose out on massive amounts of AP. To evade, first you must defeat it in the initial battle. The boss will shut down, during which time you’ll be prompted to run away. Do so. From here on out you have to avoid getting back into battle with the boss (which repairs itself) to get the highest score. At the first screen, run quickly away. At “Selphie’s Cliff” run directly left, avoiding getting caught on any rocks. On the next screen, you have to press your Walk button, or else the leaping spider will daze you and catch up. On the bridge, wait for it to leap over you then run back to the left. When it leaps again quickly switch to running right and away. From here on out, avoiding it is easy. Make sure you use your action button near the dog in the square to rescue it for more points. When you encounter squad C coming out of the building on the right, don’t go through the door they came from - It will deduct massive points. Keep running away until the cut scene / animation takes over.
Run Away: Running away is the easiest way of dealing with X-ATM092. You’ll get tons of AP for your GFs, but will not get the highest possible SeeD score. With the Running method, you simply battle the boss every time it catches up to you. Attack it until it shuts down, then run away. You still want to rescue the dog in the square, and do not want do go through the door squad C comes from. What’s nice about this method is you can redeem some of your lost points by taking your sweet time with it - which also allows you to draw lots of the boss’ Protect magic. Protect is a positive status effect which will negate large amounts of physical damage when cast on your party. Additionally, the closer you come to using the full 30 minutes, the higher your score will be.
Destroy: As I mentioned before, destroying the boss is only an option if you’re prepared for it in advance. Destroying the boss is required for what people term a “perfect game”, but this guide is not intended for that purpose. To destroy it, you would have to have grinded and farmed extensively before even setting out on the exam, getting very high level magic and junctioning it to Squall. After that, you would have to force him into his Limit Break to even have a chance at destroying the boss. Just playing the game through normally, you’ll never be able to do enough damage to the boss to destroy it before it repairs.
This post is part of the series: Final Fantasy VIII Walkthroughs
A collection of walkthroughs to help guide you through the challenges of Final Fantasy VIII.
- Final Fantasy VIII Walkthrough - Balamb Garden Training Center
- Final Fantasy VIII Walkthrough - SeeD Inauguration
- Final Fantasy VIII Walkthrough - SeeD Exam Boss Battles
- Final Fantasy VIII Walkthrough - The SeeD Exam
- Final Fantasy VIII Walkthrough - Ifrit and the Fire Cavern
- Final Fantasy VIII Walkthrough - Introduction to Final Fantasy 8 and Balamb Garden