Dragon Nest Warrior Guide
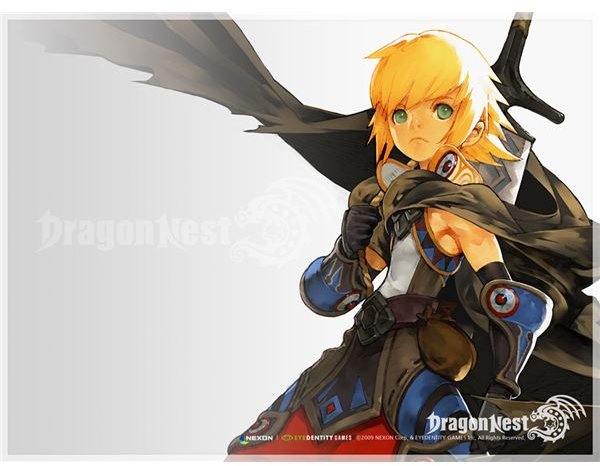
Face Your Foes Like A True Warrior
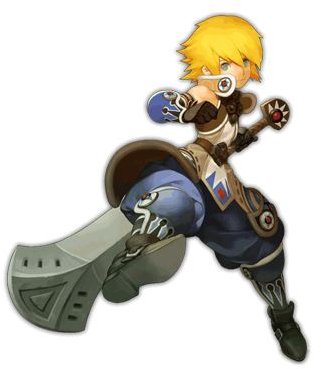
Warriors are an interesting class to play. They’re not the tankiest class as that honor goes to the Cleric. They’re not the greatest damage dealers, though they’re up there. While they may not excel in any one aspect of gameplay, they are well-rounded and above average in nearly all of them.
Warriors are fast melee combo hitters. Their individual attacks may be less powerful than the Paladin’s, but they make up for it with sheer attack speed. They’re adept at juggling enemies and keeping them from ever attacking back. If they are hit, they have fairly decent HP and armor to keep themselves alive. At level 15, the warrior can subclass into either a Swordsman or a Mercenary. The third class, Avenger, isn’t yet released.
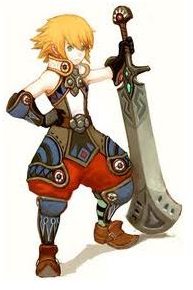
The three warrior weapons are the Sword, the Axe, and the Hammer. Swordsmen, of course, use swords exclusively. Mercenaries can choose between Axes and Hammers. Before level 15, however, you’re free to use whichever weapon you like. Swords are the fastest of the three. Axes are slower but more powerful, with a wider area of effect in regular attacks. Hammers are the slowest of all, but deal powerful heavy hits. Their secondary weapons are gauntlets, which give increased defense and attack.
Pros:
- Well balanced. Warriors are fast and agile enough to stay out of trouble, but powerful and defensive enough to be in the fray.
- Good skills. Warriors benefit from an array of abilities always at their disposal.
- Great survivability. They can bash enemies away, leap up with an attack when downed, and escape if they need to.
- Subclassing makes them monsters. Swordsmen are the best jugglers in the game and Mercenaries are the best tanks.
Cons:
- Almost too average. Clerics have better defenses and HP, Archers have better mobility, and without great weapons, almost any class can out-damage them.
- Lack of buffs. While the buffs they get are great, they don’t have many of them.
- Expensive. Swords especially can be very expensive to maintain.
- Requires specialization. Before the subclass they’re just average.
Skill Builds and General Tips
For the first 15 levels of the game, you’re a Warrior, which has perks and drawbacks. Your one skill page offers an array of basic skills, but all your advanced skills are on the subclass page, which you don’t yet have unlocked. Remember, at level 15 you get a free SP reset, so don’t worry too much about your SP before then. Bear in mind, however, that once you’ve used that free SP reset, you will have to buy a new one from the Cash Shop, which costs almost $20. This means any mistakes you really have to fix become costly.
For a general rundown of the Warrior skills, continue reading. If you’d rather jump in to making your own build, check out the DNArmory Skill Planner. Some general tips:
- You have plenty of SP early on. The free SP reset is intended to let you make a build using new skills, not change your mistakes.
- Having more skills is better than having one or two powerful skills.
- Always have something to do. If all your skills are on cooldown, you’re stuck with regular attacks and your options are limited.
Warrior Skills, Levels 1 - 8
Impact Punch: Learned at level 1. A short-range punch with the side of your weapon. This move is a staple for keeping combos going because it launches enemies slightly and can hit enemies on the ground. On top of that, it has a short cooldown of only 6 seconds.
Heavy Slash: Learned at level 1. Another short-range move, it’s exactly what it says on the tin. A short wind up and then a single heavy slash attack. It knocks enemies back a short distance and stuns them temporarily, leaving them open for further attacks.
Tumble: Learned at level 1. Double-tap a directional arrow or hold shift and tap the arrow to roll in that direction. You can’t take damage while you’re rolling. Invaluable for escaping if a situation grows too hot to handle. Leveling it decreases the cooldown so you have an out more often.
Elbow Drop: Learned at level 1. This is your default passive attack against enemies on the ground. Right-click on a grounded enemy to drop an elbow into them and deal some added damage. Only useful for finishing single enemies as it takes a while and doesn’t really contribute to your combo.
Rising Slash: Learned at level 3. Charge forward with a shoulder bash and slash upwards. Excellent for launching enemies and starting your combo. Once you reach level 6 in the skill, a second upward slash is added to the end of the move. Note: The move by default is just the shoulder push, you need to click attack to trigger the launch.
Side Kick: Learned at level 1. This is your default passive right-click attack. Quick, no cooldown, can stun enemies, and is useful for keeping your combo going or breaking debris lying around. Pre-Req for Drop Kick.
Surprise Attack: Learned at level 5. Another passive, this is your off-the-ground move. When you’re knocked down by enemies and surrounded, click attack to leap to your feet with a weapon slash, sending your enemies reeling and giving you time to combo them or escape.
Impact Wave: Learned at level 5. Sweep your weapon along the ground to drive up a shockwave in a line in front of you. Useful for stalling charging enemies and dealing some damage, but it doesn’t launch and doesn’t do much to continue your combo. It does, however, hit enemies on the ground. At level 10 of the skill it gets a bigger, longer shockwave, but you might not put that much SP into it.
Drop Kick: Learned at level 4. Right-click while jumping to kick downwards at an enemy to launch them back a short distance. Only useful if you’re surrounded and need to clear a space. Pre-Req for Sweeping Kick.
Soccer Kick: Learned at level 6. Right-click next to a stunned enemy to do a slightly jumping kick to knock them back. Only slightly useful, but it’s a utility skill you can get if you want.
Sweeping Kick: Learned at level 8. A second attack added to Side Kick. Click a second time while using Side Kick to do a forward-jumping second kick to keep your combo going. More utility than damage.
Warrior Skills, Levels 9 - 35
Destructive Swing: Learned at level 9. You jump into the air and land hard on your enemies, knocking them back and down, hitting enemies on the ground, and generally dealing a decent amount of damage. It can also break enemy shields, which is very useful. Leveling it increases the damage but does nothing for the cooldown.
Dash: Learned at level 10. When you double-tap a direction key to tumble, you can then hold the key to recover from your roll in a run. Useful for making it to enemies quickly, or escaping them quickly. Pre-req for Dash Kick.
Dash Kick: Learned at level 12. When dashing, you do a flying jump kick into your enemies, sending some flying up and others flying back, stunning them. This move is a very useful approach but is less valuable once the battle has begun.
Aerial Evasion: Learned at level 17. Once you learn this, you’ll wonder how you ever lived without it. If you’re knocked into the air, which will happen a lot against certain enemy types, there’s nothing you can do. Unless you have this skill! Press the jump button in the air to recover and land on your feet, or use one of the aerial skills, to attack back or escape. Leveling it decreases the cooldown, which is invaluable. Every class gets this and it’s worth every SP.
Mental Fortitude: Learned at level 20. All it does is passively increases your MP by a percentage. Pre-Req for Attuned Mind. Useful if you have SP to burn or really want the added MP.
Lifesaver: Learned at level 35. This is a 60-second buff with a 300-second cooldown. It’s also a party buff. What does it do? It makes it so that, if you or a party member would take enough damage to die, you instead stay at 1 HP. Quite valuable if you know how to time it right. The long cooldown means mis-timing it misses your chance.
Health Bolster: Learned at level 20. This is the HP version of Mental Fortitude. Increases your HP by a percentage. Useful if you find yourself needing more HP and have the SP to burn on it.
Brush Off: Learned at level 30. Very useful in some situations, Brush Off is a skill that allows you to shrug off debuffs on yourself. Get rid of armor break, cure poison or burned status, get out of paralyze, that sort of thing. Very useful.
Attuned Mind: Learned at level 30. A passive that increases your MP regeneration rate. That’s all it does. Only useful if you don’t use potions and find yourself running out of mana all the time.
References
- Some information from DNArmory.
- Information from User’s Own Experience
- Images copyright Eyedentity and Nexon.