Deus Ex: Human Revolution Side Quests - Smash the State and Acquaintances Forgotten
There are two side quests that you can pick up on your second stay in Detroit. While the riots rage, you’ll need to keep up your own personal investigation and help the police maintain order.
Acquaintances Forgotten - Side Quest
You’ll wind up with this one, potentially, as you walk to the convention center. If you did the early miniquest to follow Pritchard’s hole in the firewall, then this quest should show up. The triggers seem to require that you not only convince Sariff to explain that he hired a private investigator, but you also need to have read the emails that he sent you.
If you did all that, then you’ll get a little closure.
Finding Brent Radford
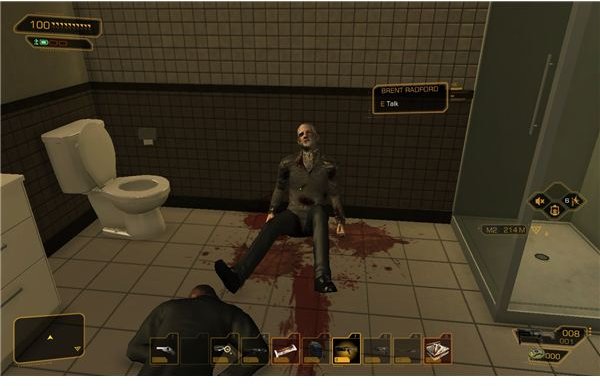
Pritchard will mark Brent Radford’s apartment on your map. Just take a right at the gas station and walk through the back alleys to find his building. Climb the fire escape all the way to the top and then go through the window. Walk up to the marked door and you’ll find his apartment. Crouch and walk inside until you can spot the bathroom. There’s an assassin standing in the doorway. Take him out from behind to save Radford.
Once the assassin is down, you can talk to Radford, but only briefly. At first, he’ll refuse to do anything until you get his trauma kit. The kit is in his bedroom closet. Pick it up and talk to him again. Administer the
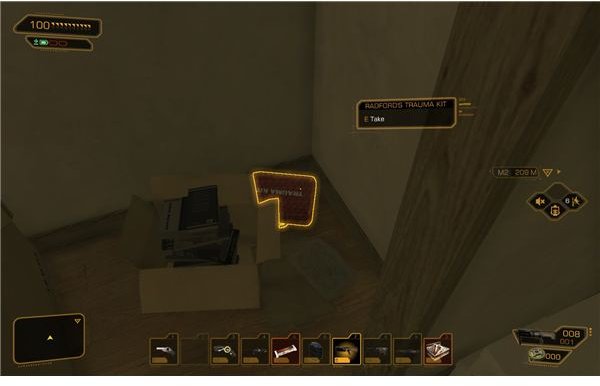
morphine to learn the basics, and then administer it again to learn the details about Michelle and the storage locker.
The one big decision that you’ll need to make now is whether to let Radford die or not. He’ll ask you to give him an overdose of morphine when you try to leave. If you don’t have the social module, then the choice is just whether you’ll help him do it or not. If you have the module, then inquire about why he hates the idea of being augmented so much. Reason won’t win him over, but you’ll get a chance to use your pheromones. If you use “Appease,” you’ll be able to win him over enough to convince him to keep fighting.
Once that’s done, walk out and start looking for the storage locker.
Radford’s Storage Locker
There’s a fairly complicated back route to get to it. You basically just go as the crow flies, and use your jumping augmentations to clear fences and use your strength augmentation to move a dumpster out of the way. If you want, you can go the other way, and go back on the street and look for the tear in the fence by a police roundup to reach the storage unit.
There are four men watching the storage unit. One is inside, with the other three men on watch.
The one important note here is that you’re within hearing range of the police. A prolonged firefight will get very chaotic, very quickly, and may not end in a good way if they’re involved. Stick to quiet methods, at least at the start.
A silenced pistol or stun gun will do wonders for taking the first couple out. The last two should be vulnerable to a rush and takedown. If worse comes to worse, just use the nearby concrete blocks for cover and pick them off with stun and tranquilizer darts.
If the police respond, hide somewhere for a moment until they go all the way back to green. Do not try to engage them, unless you’re sure you can take them out without being spotted. You don’t need the entire police force in the area shooting at you.
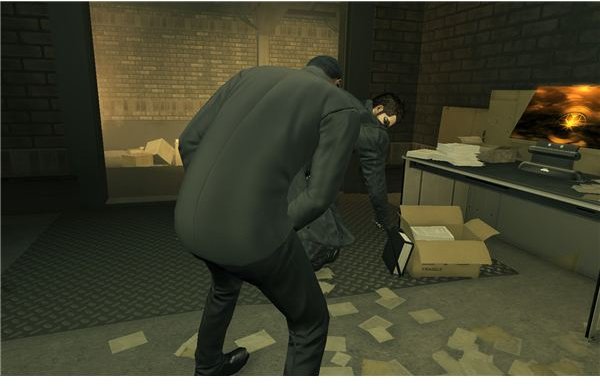
When the coast is clear, go inside and hack the computer. It’s a level three hack, which isn’t too hard for the end game. Once you get all of the emails (there are five, you need to read them all to complete the objective), go to the safe in the corner and unlock it. It’s a level five keypad, but I believe you should have the code with you (I did at least). The code is 4062.
Open the safe and grab the baby pictures out of it, along with the other loot.
Talking to Michelle
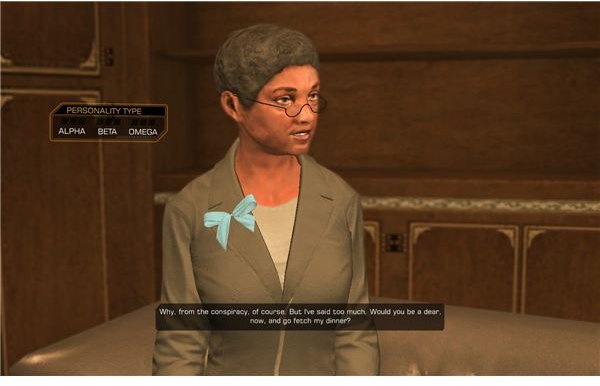
Now that that’s done, just go find Michelle. Look for her apartment and climb the series of ladders to get to the rooftop, then come down a level to find her door. Unfortunately, she’s quite senile. You can learn a fair bit about your history by asking her to focus, but that only really works once. You can use your social module and “Charm” to get her to reveal a bit more of your backstory, but that’s it.
When you try to leave, she’ll offer to give you a bunch of saved up credits as a belated birthday present. You can accept it or politely thank her and turn her down. It’s all up to you.
Smash the State - Side Quest
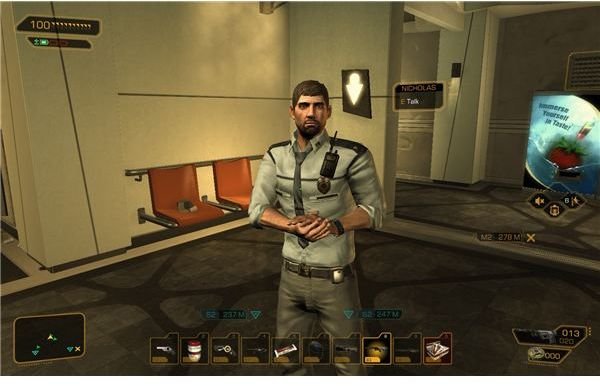
This side quest is fairly easy, at least conceptually. Once you take care of the situation at the convention center, in whichever way that is, you’ll run into an old friend, Nicholas, panicking at the exit. He’ll ask that you help him check out some leads on a bomber.
While you’re pushing for details on the chase, you’ll have an opportunity to use the social module to help Nicholas calm down. For once,“Pressure” will actually get used. This will help him get ahold of himself to finish the briefly properly. It’s just a minor touch though.
Finding the Bomber
The basics are quite simple. He’s either in the police station back alley, or down in the sewers below the back alley. Make your way into the back alley through whichever path works for you. The same paths are open as before. Jumping over the fence is the easiest, but you should also be able to just go through the side alley if you wish (I assume you’ve shut off the breaker by now).
Regardless, get in back to confirm that he’s not there. The only remaining place is the sewer.
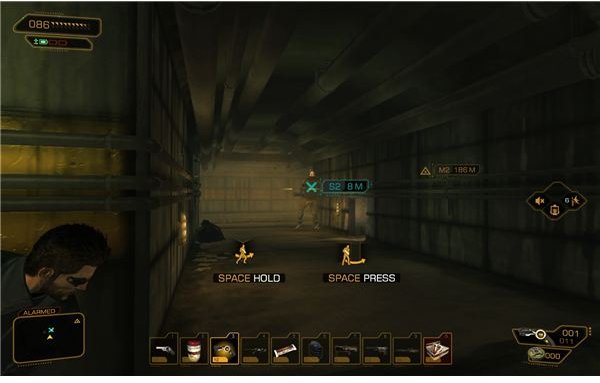
Nicholas wasn’t joking about White using traps either. There are fragmentation mines on most of the corners, so watch your step. Make sure that you’re walking and crouching, not crouch running. If you just walk, you won’t set off the mines. Then just look for the blinking lights and turn them off. The more aggressive among us should just throw boxes past corners to be sure.
He’s actually not that far into the sewers, and there seems to be a good chance that he’ll wander out to look for you if you set off a mine.
Note that White himself is quite tough, and you should really try to get close enough for a stun gun shot or a takedown. He can shake off a lot of bullets, and you get extra credits for bringing him in alive, so it’s worth the hassle. He set up three turrets to watch his area of the tunnels, but there are plenty of boxes obscuring their vision and vents running between them. Just watch his path and take him down when he’s behind a turret. If that doesn’t work, try putting boxes in front of turrets to block their sights, or if you have the strength augmentation, pick up the turrets from behind and throw them somewhere.
The bomb is in the back corner of his little fortress. It should be a simple hack at this point in the game, but I believe that you can just turn the location in when you complete the quest. Nicholas will then alert the bomb squad.
Note that there isn’t really a “good” time to turn it back in. The quest will likely require a long haul across the city regardless of when you do it, so just head on back after its done to claim your fairly substantial reward.
References
- All information and screenshots from Deus Ex: Human Revolution
This post is part of the series: Deus Ex: Human Revolution Walkthrough - Part 3
We’re looking for justice in Hengsha. This means a raid on the Tai Yong Medical building, a bit of a detour to Montreal, and a trip back to an embattled Detroit to follow the loose ends of the Illuminati and track down the missing scientists.