Darwinia Walkthrough: The Receiver

Welcome to the Holy Reciever
After you complete the Yard the good doctor will explain to you quite a bit about Darwinia. The area we are going to head to next is called the Receiver, and it is where the souls of Darwinia’s living creatures return to find another chance at life. It is a very sacred place for the Darwinians, and it is also very heavily infected. Your goals here are to bring the Receiver back on line so that you can collect 50 souls per minutes and to enable the Biosphere trunk portal.
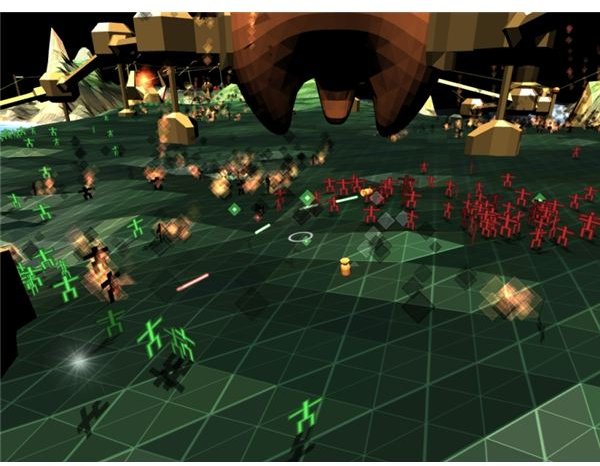
Start at the Yard trunk portal. You are on an island with plenty of viral infection and an incubator on the far side guarded by two spiders. You’re going to want to make a lot of use of airstrikes and grenades because the sheer number of enemies on the island makes it very tedious to try and clear them out using lasers alone. Your first objective should be the incubator, so that you can turn the many souls into Darwinians. Then make a bee-line for the radar dish on left side of the island. User an engineer to take over the radar dish and then beam your squad over to the island with the Receiver stations on it.
Taking the Second Island and Receivers

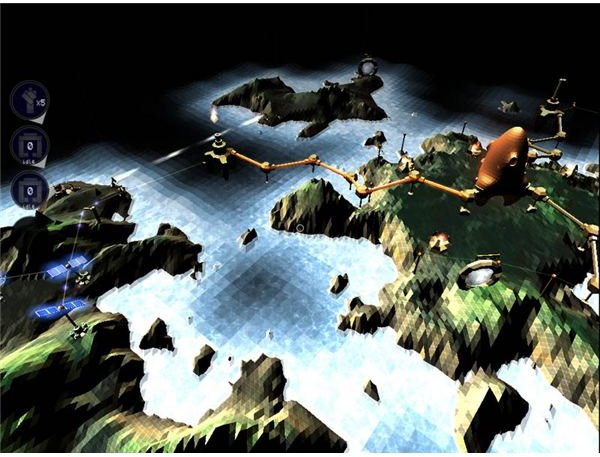
You are again faced with many opponents. I highly recommend that you use an Armour to build a Battle Cannon on the island’s first ridge. This will secure the two valleys around it and allow you to ake over the receiver stations safely. You will also need to have a Battle Cannon available because there is a Tiffid across the water which shoots eggs. These will turn into additional viruses and spiders and cause havoc unless you have a Battle Cannon which can quickly dispose of these threats.
Proceed across the island by building a line of Battle Cannons along the ridges. You can use your squad to support your Battle Cannons, but at this point Battle Cannons are far, far more effective than you squads at dealing with opponents. While the middle of the island is populated by pushover viruses, the end of the island includes some very tough opponents including the first Soul Destroyers you’ve encountered. These look like Centipedes, but they are very fast, very tough and they don’t split up into smaller units as they are destroyed. There is also an incubator on the far side of the island. As always, this should be your first objective. Push on it with Battle Cannons and then bring it only quickly to harvest souls and make new Darwinians. Once the infection is wiped out, our Armours to move around your Darwinians and activate all of the Receivers.
Taking the Center Island
With this island now secure, re-target a radar dish so that the center island can now be accessed. There are not many low-level viruses here, but rather a bunch of nasty Soul Destroyers, Centipedes, and Spiders. Move forward with overlapping Battle Cannons in order to destroy these opponents, then beam over some Darwinians using the radar dish or transport them over using Armours. Once you’ve destoryed all the enemies you can move on the Biosphere trunk portal to the right of this island. Take it over to complete one objective.
With the Biosphere trunk portal now taken over, move a squad across the peninsula to the last part of the island, which is dominated by a large mountain. There are only a few viruses and a Centipede here, so you don’t even need a Battle Cannon. Wipe out your opponents and then transport in some Darwinians to man the Receivers using Armour.
Sneak Reciever Attack
At this point you could proceed to the next island by using the radar dish on the center island to send a squad over. A better idea, however, is to move two Armours from the portion of the center island which you last conquered over to the undefended portion of the middle island directly above. You’ll only have to deal a few Centipedes and two Tiffids, and then that is it.
The rest of the mission is mostly a matter of shuffling around Darwinians so that you can man enough Receivers. Once you have taken the portion of the third island which you just covertly invaded you will, in combination with the Receivers back on the second island, have enough to meet your objectives. Use Armour to send in Darwinians to the receivers and set up some Battle Cannons to defend them. If you are lacking in Darwinians, remember to dismantle Battle Cannons which are not in use by selecting with X and then pressing the select button to terminate the Battle Cannon. This will free up the Darwinians that were manning the Battle Cannon for other tasks. If you still are low on Darwinians, there is a huge viral infection in the middle of the third island. You can win without ever touching it, but if you need souls this is the place to harvest them. Once the objectives are complete, leave the location.