Darkest of Days Walkthrough - Your Time As A Confederate
The First Push
This whole chapter is basically just one really long battle. You have a Henry rifle at the start, so you know you’re in for one heck of a fight. Advance a bit and try to help the Confederates secure this area. This boils down to finding the Union soldiers who made it up to close range and taking them out. The only real problem is the Union cavalry, which might be taken out by the AI if they’re on the ball. Remember to cut them down if they don’t.
Advance a bit more to trigger the cutscene with the officer and his futuristic superweapon. Just take up a spot and start hammering him with the Henry Rifle. A few good shots to the torso will bring him down, just make sure that he doesn’t get back up. After that happens, push forward along the road to the right. You can fire on the Union troops below from this position. You need to walk over to the dead officer to reclaim the gun, which is apparently out of ammo. It couldn’t be that easy. You’ll pick it up automatically and it doesn’t seem to count against your weapons for now.
The next part gets really tough. You need to advance a bit and put a few rounds in the firing line. They should panic and leave. The problem is that they come back in force in the valley up ahead. You need to make it over to Dexter’s position, by following the right cliff wall until he calls out to you. The problem is that there must be about 80 Union soldiers in the area.
Getting A New Gun
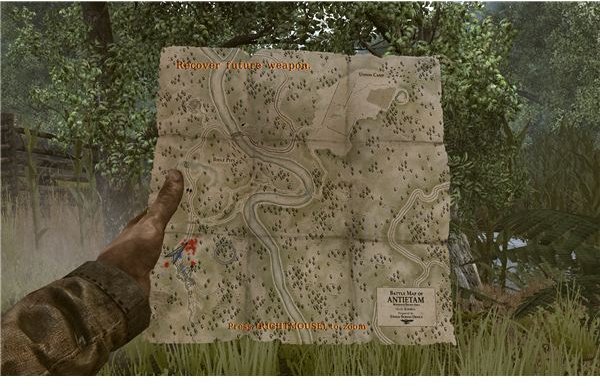
I’ll go ahead and say that I had surprisingly good luck with the “run like heck” strategy. You might get lucky after a try or two and slip past the Union line and get to the barn. You should probably just fight them though. Check the map and see how many survivors there are. If there are a lot, stick to the road. There’s more cover and it’s easier to escape. Engage the outliers with your Henry rifle and then pick up a sniper rifle if you can.
In a minute, a huge Confederate cavalry charge will rush in and kill a lot of the Union soldiers on the road. They get blown apart by the Union artillery though. Unfortunately, a lot more Union soldiers will then spawn all around you. You need to fall back. Go all the way back to the first rock were you killed the officer. This should trigger a massive Confederate counterattack, which will soften up the Union forces. Advance along the upper road again and help them clear the path. Move carefully and focus on surviving the battle. Once you make it to Dexter by the cliff, you’re almost home free. Go up to the barn and fire on the Union soldiers within. Take out the sharpshooter on the roof first, and then fire quickly at the group of 10 inside. Round the corner and finish off the last few men guarding the box of ammo.
Once they’re dead, look down and keep hitting “e” to pick up a ton of ammo for the gun you’ve been unofficially carrying. The AMP 60 is one awesome weapon. It can auto-aim at targets to the point that it basically does the killing for you. You can carry 1400 bullets in reserve, so go ahead and fill up. You’ll need them to turn the tide of Toomb’s battle.
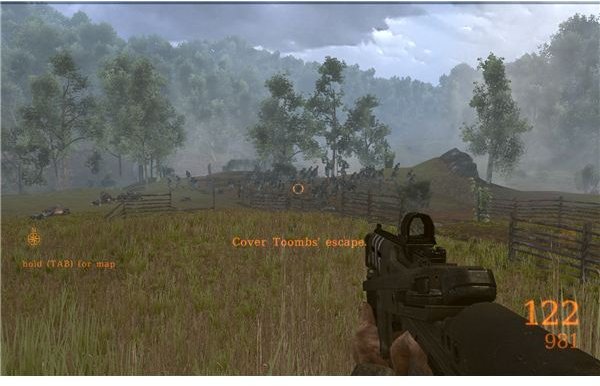
Protecting Toombs
Advance up and report to Toomb. He’ll put you on cannon duty. Just line up a shot right on the bridge and kill the first Union advance. After that happens, you should go ahead and see if you can’t take out the irregular advances up the little hill to the right. We’re just doing this to save ammo, so don’t worry too much. Once things start going chaotic, hop off and pull out the AMP 60. Just aim in their general direction and fire from the hip. It should devastate the Union advance. Just hold them off for a little bit until an absurd amount of soldiers advances across the bridge. Union artillery will destroy your cannon right as they cross though, so you have to use the machine gun.
Just aim in the general direction of the crowd and open up on them. Fall back when you start to take damage. In a few more seconds, Hill should arrive with a whole lot of cavalry. They’ll ride through and cut their numbers in half. Keep firing though. You’ll need to help them cut a path across the field so you can find Dexter. They should circle back in a minute if you want help, or you can just spray and pray. Either way, go over to Dexter. It seems like a few agents decide to pop in though. They stop the time though, just like they do if you kill a few guys with blue auras. Just use your new toy to blow the 3 men away as they step through the portal.
Taking Out The Agents
Listen to Dexter again and start up the advance. Go ahead and grab a nice M7 rifle off of one of the agents before you go. Once you make it to the bridge, turn to the left and guy down the 2 agents waiting in back. Follow the line into the shade. You’ll run right into 1 agent, so be ready to fire quickly. Once you’re past him, you’ll find their main portal.
You need to go around and reverse the inputs to send in your guys. When the targets come up, go directly to the left and switch the first one. Then go around and flip the other 2 over. If you’re quick, then Dexter will be able to keep the first 2 agents distracted. The next 2 will pop in right as you switch the third, and when that happens you’ll have lots of allies pouring in to take them out. You might not even need to help out.
After the portal is switched and all the agents are dead, jump through your new portal to head back home.
This post is part of the series: Darkest of Days Walkthrough - Arc 3
It’s the final countdown for the Darkest of Days. You’ll need to do a bit of historical cleanup in the Civil War and WWI. You’ll also get to do a big prison break in WW2 and then enter the final battle at the base of Vesuvius. If you need any help with the end, then look at this guide.